Want your own Chladni plate? Here's how!
WATCH VIDEO
 |
 |
 |
|
How to Make a Vortex Cannon |
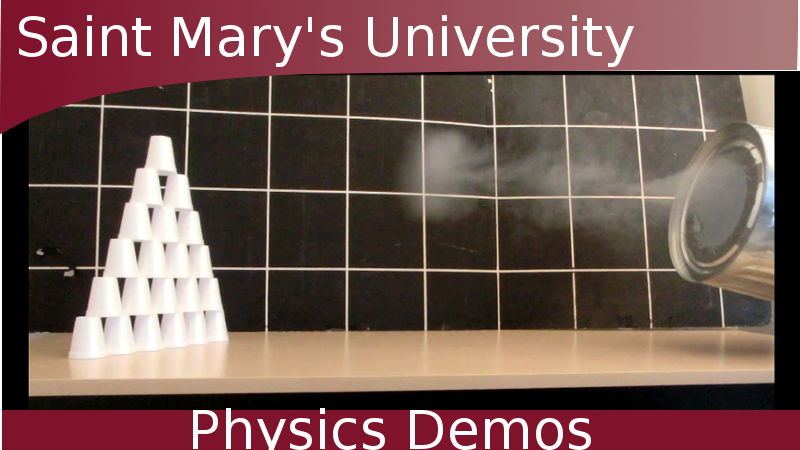
How to Build a Tower of Lire |
How to Make a Gravity Well |
Teachable Topics:
- resonance
- oscillations
- partial differential equations
Theory:
Chladni plates are an excellent tools for visualizing resonant patterns in two dimensions. Understanding how they work is much easier than understanding the theory and mathematics behind the patterns themselves, so that is what we will concentrate on here.
Let's begin by thinking of a simple 1-dimensional example. If a piece of string were made to vibrate at a special resonant frequency (determined by the string's length, density, and tension), the standing wave would have places along the length where the string didn't seem to be moving at all. These places are called "nodes". Everywhere else along the string is vibrating, moving up and down, back and forth very quickly. If we were able to balance some sand on the string, the sand away from the nodes would be flung off into space while the sand on the node would sit still happily where it is.
While calculating the resonant frequencies of a 1D string is fairly straightforward, the theoretical details in two dimensions become much more difficult. But we can easily see the patterns using the method described below. The Chladni plate is a rigid, thin piece of metal, usually of a regular shape but not necessarily so. The plate is attached to a source of vibration. The source must be strong enough to vibrate the plate enough to shake the sand into the lines of zero amplitude (the nodal lines). Ideally, the source should also be able to sweep through a large frequency range so investigate all possible patterns.
These patterns, especially at higher frequencies, show amazing complexity and symmetry. If one can stand the noise, it is easy to spend hours finding new patterns in the sand.
Procedure:
- Place the speaker/driver on the plastic tray. The tray will make clean-up afterward much easier!
- Be sure not to touch the top surface of the plate. Fingerprints (oil) will cause the sand to "stick" to the surface, making it harder to get nice patterns. Wipe the surface with methanol beforehand to make sure it is optimally clean.
- Balance the plate atop the speaker post.
- Sprinkle some of the "scenic sand" on the surface.
- Turn the wave generator on and turn up the output amplitude about half-way.
- Patterns have been seen from about 500Hz to 5000Hz. The best range to show in a class is between 2000 and 3000Hz. There are many patterns very close in frequency in this range with amazing complexity.
Safety:
- Make sure that sand does not get into the speaker!
- Ear protection should be used as the sound from the speaker can become annoyingly loud.